Light box photography: what it fixes, and what it flattens
Light box photography solves one problem very well — a small object on a clean background with no harsh shadows — and creates another that nobody warns you about, which is that perfectly even light makes a three-dimensional object look flat.
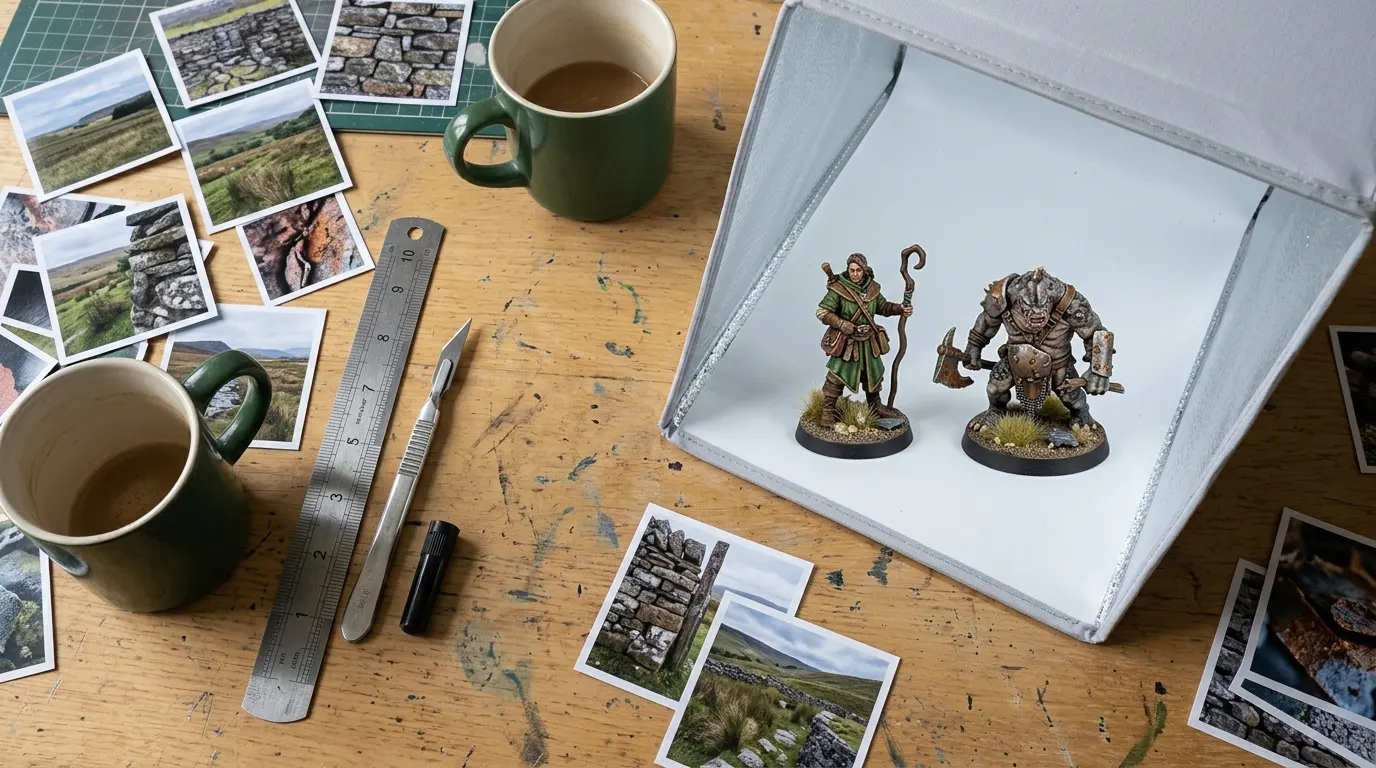
A light box is a translucent tent with lights outside it. The fabric scatters the light before it reaches the subject, so instead of one hard source you get a soft one arriving from every direction at once.
What light box photography is actually for
Three things, and it does all three better than anything else at the price.
- A seamless background. The curved sheet inside gives you no horizon line, which is most of what makes a product photograph look professional.
- No hard shadows. Diffuse light from all sides means nothing casts a black edge across the subject or the background.
- Repeatability. Once it is set up, every photograph matches. That matters enormously if you are shooting a set of things.
The problem nobody mentions
Form is described by the gradient from light to shadow. Remove the shadow and you remove the information. A model photographed in a perfectly even box comes out looking like a sticker of itself — every surface the same brightness, no sense of which way anything faces.
The fix is to unbalance it deliberately: turn off or cover one side, or put a piece of black card inside on one side. Reintroducing a little shadow puts the form back, and it is the single adjustment that separates a usable light box photograph from a flat one.
How to make a light box from a cardboard box
- Take a box big enough that the subject occupies about a third of the width.
- Cut large windows out of both sides and the top, leaving a frame.
- Tape baking parchment or plain white tissue over each window. This is the diffuser.
- Curve a sheet of white paper or card from the back wall down to the floor of the box so there is no crease line.
- Put one lamp outside each side window, and one above if you have a third.
Then cover one side to get your shadow back, as above. Total cost: a box and a roll of parchment.
A cheaper alternative that often wins
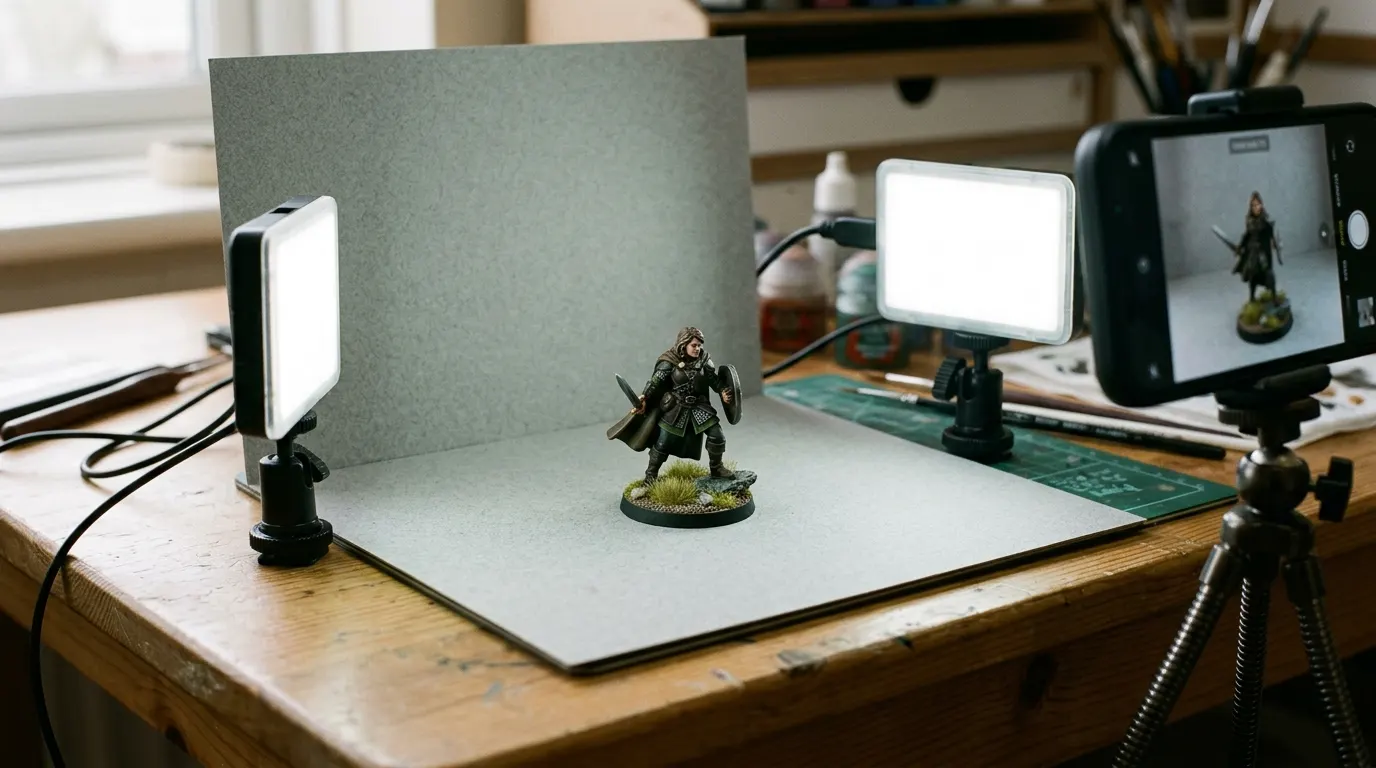
A window with net curtain, a sheet of white card as a background, and a second piece of card opposite the window to bounce light back. That is a light box with the walls removed, and for anything bigger than a hand it is easier, free, and gives better-looking light because it is directional to begin with.
Switch the room lighting off first, every time. Daylight and a bulb together put two colours of light on one object, and that is miserable to correct later.
Where to put the camera
Shoot from roughly the subject’s own height rather than down at it. Looking down at a small object makes it read as small and as an object; coming to its level makes it read as a thing with presence, which is usually what you were after.
Leave more space around the subject than feels right, too. Cropping in afterwards is free; discovering you cut the top off is not, and a light box gives you a clean background to crop into.
Backdrops beyond plain white
White is the default and it is not always right. A mid-grey card stops a pale subject looking washed out, and a dark background makes a light-edged object read dramatically — useful for anything with metallics on it.
For a painted figure specifically, the background is a creative decision rather than a technical one, and the backdrop guide covers it properly.
What size box for what size subject
The subject wants to occupy about a third of the width — enough to be the point, with enough space round it that the diffused light can wrap. A subject crammed into a small box lights unevenly, because the walls are too close to scatter properly.
Which means the common mistake is buying a box that is too small. For anything bigger than a mug, the window-and-card method described earlier will usually beat a box you had to squeeze the subject into.
Once you have the shot
Compare the available sizes and prices before ordering. Free UK delivery is included in every price.
Explore light before buying equipment
Nikon’s at-home macro exercises offer examples of lighting small subjects. Apply the same experimentation to your paintwork, then compare background choices for miniature photographs.
Good to know
What is a light box used for in photography?
A small object on a seamless background with no hard shadows, repeatably. It is the cheapest way to make small-product photographs look consistent.
Why do my light box photos look flat?
Because form is described by the gradient from light to shadow, and even light removes it. Cover one side, or put black card inside on one side, to put some shadow back.
How do you make a DIY light box?
Cut windows in a cardboard box, tape baking parchment over them, curve white paper from the back wall to the floor, and put a lamp outside each window.
Do I need a light box at all?
Often not. A window with net curtain and a piece of white card to bounce light back gives better, more directional light for anything larger than a hand.